Make a Hello World
You will need to Log In to your Fonoster account to access the Console.
More of a visual learner? Watch the YouTube tutorial
If you don't have one yet have an account, you can Sign up for one with GitHub.
What you will need:
- Fonoster Account
- Ngrok
- Node version 16+
- Git (optional)
Setting up the NodeJS server
To set up the NodeJS Voice Application, first, clone the repository with the following:
git clone https://github.com/fonoster/nodejs-voiceapp.git
Next, move into the repository directory and install the dependencies with the following:
cd nodejs-voiceapp
npm install
Then, install the Ngrok tool in the global environment with the following:
npm install -g ngrok
Finally, start the Voice Application with the following:
npm start
By default, the application will be running on port 3000.
Making the application public
To connect Fonoster with the Voice Application, we first need to make it available to the public Internet. For this task, we use Ngrok.
To make the Voice Application public, open a new terminal without closing the one with Voice Application.
Next, start Ngrok with:
ngrok http 3000
Your application is now ready for public access and will look similar to this:

Creating a New Project using your Fonoster account
Without closing the terminals, go to the console and create a new Project or use an existing one.
Next, select the Project you just created to access its resources.
Creating a Placeholder Trunk
Once inside your Project, look for the [+] sign and select Trunk to show the create Trunk form.
Next, create a placeholder Trunk by setting the Username, Password, and Hostname to placeholder or any other value.
Finally, click on Add Provider.
Creating a Placeholder Number
The last step is to create a placeholder Number.
To create a placeholder Number, look for the [+] Sign and select Number to show the create Number form.
Next, select the Provider you created in the previous step.
Then, add a Number (it can be any number) and click on Create Number.
Finally, for the Webhook URL, use the link provided to you by Ngrok.
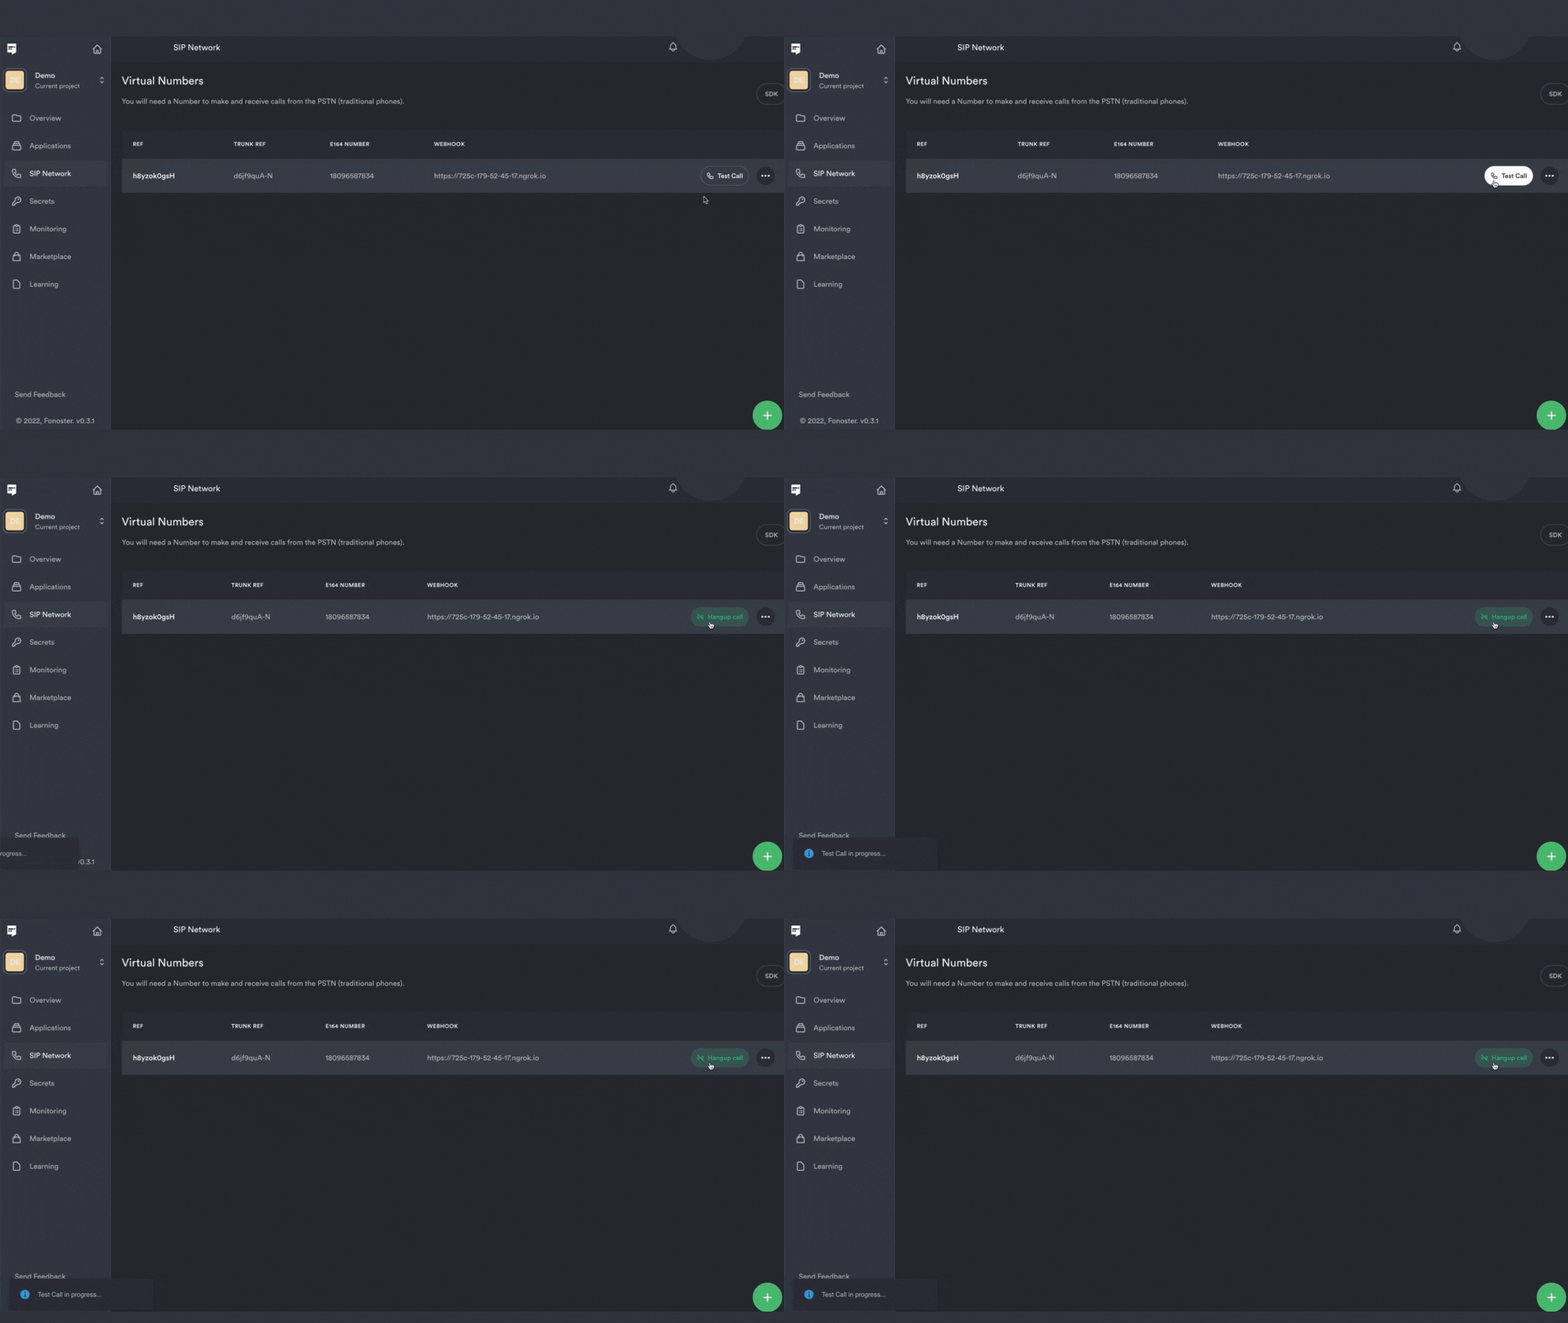
Now you are ready to test your Voice Application.

Now you will see on the bottom left side of the screen call in progress, and that's it!
You've just created your first application using Fonoster 🎉